I decided to start another YouTube channel. Not because my main channel was getting out of hand, but because I want to bang out a bunch of quick videos just to get practice. And also there’s stuff that I cut out of some of my main videos that I wanted to share.
Annywhoo.. This video is about an Anker Powerline+ USB cable that came in a needlessly elaborate package.
This video goes ridiculously in-depth on the subject of 10 particular models and brands of popular NiMH cells. It covers my recommendations, as well as an extensive dive into my testing methodology. Downloads As promised, here’s the spreadsheet that I mentioned in the video. Both links are to the same document, just in two different formats. Google Docs: https://drive.google.com/file/d/0B1fu729GXZJyY3RkX3ZNVlp5QjA/view Excel File: NiMH_Capacity_Analysis-Scott_Dotdot-20170908.xlsx My Recommendation Not to spoil the video, but if you’re here for a recommendation: At the current price of $21.99 for a sixteen pack, the EBL 2300mAh cells are the way to go. However, I’d also recommend the high capacity cells by Amazon and Sunlabz. I own a bunch of Panasonic Eneloop cells, and they are reliable, well … Continue reading
I’m a leftie, but all my life I’ve used right-handed mice in my left hand. I needed to replace my old Microsoft Optical Mouse, and found the DeathAdder Left-Handed Edition. It’s the perfect size and shape for me, but they did the weird thing of switching the left- and right-click buttons. It’s easy enough in most any operating system to swap the buttons in settings. However — at least with Windows — the buttons are only changed locally. So when connecting to other hosts via Remote Desktop the buttons revert to their hardware configuration. That’s a no-go for me, but I liked the mouse so much that I decided to mod the hardware instead. Fortunately, it’s very easy to reconfigure … Continue reading
This is so close to being a good charging stand, except that the USB port is used to hold the phone in place!
Its design is quite simple, as it’s just a USB 2.0 pass-through from a micro-USB port on the back of the dock to a male micro-USB on the front.
There’s not much more to say about it in text, so check out the video to get a full look at it! And this does have the benefit of being one of my shortest videos, so you only need to invest about 2.5 minutes into it. :)
Hey look! A crate from Japan! (California, technically.)
Japan Crate sends a box of surprise Japanese candy, chips, and other edibles to your door every month. For a fee, of course.
The missus got a 3-month subscription for me as a birthday gift, and I’ve been sitting on the third crate for over a month waiting to do a video on it (much to her chagrin). It’s now come to pass.
I like the Japan Crate crates quite a bit, to spoil the whole review right now.
Update: In retrospect, I probably should have tried everything on camera, and then just edited out the uninteresting items.
The stuff that I thought was root beer flavored hard candies were in fact similar in texture to very rapidly dissolving Smarties that tasted like maple syrup and butter. Basically it was like licking the top of a stack of pancakes from I-Hop. I didn’t care for it, even though in theory I like those two things. What it needed were the pancakes.
My friend Vin (the Kit Kat guy) points out that my detail on the matcha and condensed milk candies was lacking, which is fair enough. But I don’t know how to accurately describe the taste of matcha because it’s fairly unique. It’s got an earthy taste, I suppose. That’s really not enough to go on, so next time you’re in a Japanese restaurant ask if they have green tea with matcha. Ever since I had it for the first time at Arata Sushi in Syosset, NY, I can’t drink regular green tea anymore. It just doesn’t compare.
And I probably should have shown this DIY thing from the previous month’s crate:
It’s called Nomucco Jelly, and comes with a bag of powder plus the plastic dish and straw you see in the video. Add a little bit of water and stir and a minute later you get… melon flavored mucus!.
The texture only becomes unpleasant when you think of it as mucus, a fact of which Amanda reminded me quite gladly. The flavor is lightly melon-y, though, and “pretty good”.
Note that I’m not paid to endorse this, and have no vested interest in Japan Crate. I just happen to like it.
The folks over at Creation Crate got in touch and asked me to do a review of their monthly electronics project subscription service. I like the whole “crate” concept, and I like electronics, so figured I’d go for it.
This is an unboxing, review, and assembly of the whole thing, cut down to an unusually-short 16 minutes or so.
Overall, I like the Creation Crate, though there are a couple of minor points with which I took issue. But if you’re looking for a gift that’s educational and fun (for those that find electronics to be fun, at any rate), then you could do a lot worse. I’m kinda basing this on my own childhood, but this seems like it would be perfectly suited to pre-teens and early teens, but would be good for anyone just starting out with basic electronics and programming.
And in full disclosure: The kit was provided to me for free by Creation Crate, but this is not a promotional video.
I would have made the very same video and said the same things if I’d paid for the kit, and at a value of ~$30 bucks it’s not exactly enough for me to sell myself. On the other hand, if anyone from Tesla ever reads this, I will guarantee you a good review if I get to keep the car.
This video covers almost everything you need to know about HDDs and SSDs to make an educated choice before pulling the trigger on a purchase.
Well, almost everything. This video is primarily directed at the home user trying to get some additional storage, whether that be an extra drive in their workstation, a NAS, or a full file server. If you’re trying to choose between SAS drives for a large-scale datacenter installation, then you probably know this stuff already.
As I promised in the video, here’s some links to my HDD TCO worksheet from 2013 (though I may have updated it in the interim with a couple of “new” drives). Please download the Excel version and use this for any drive that you want. If you make any interesting changes or large scale updates, I’d love to see it, so please let me know!
I also added a bunch of notes so you know what I meant with all the field names.
A look at some possibly-fake random “NiMH” AA cells from AliExpress, comparing them to Panasonic Eneloop cells.
From my somewhat limited testing, these little green guys had an actual capacity of about 342mAh, which is less than 10% of their claimed specification of 3800mAh (which is probably impossible anyhow for AA-sized NiMH cells.
The part about them perhaps not being real NiMH cells? That’s not the weirdest thing. Unlike most of my AliExpress purchases, these shipped from The Netherlands, despite the seller being called Shenzhen DeKang International Trade.
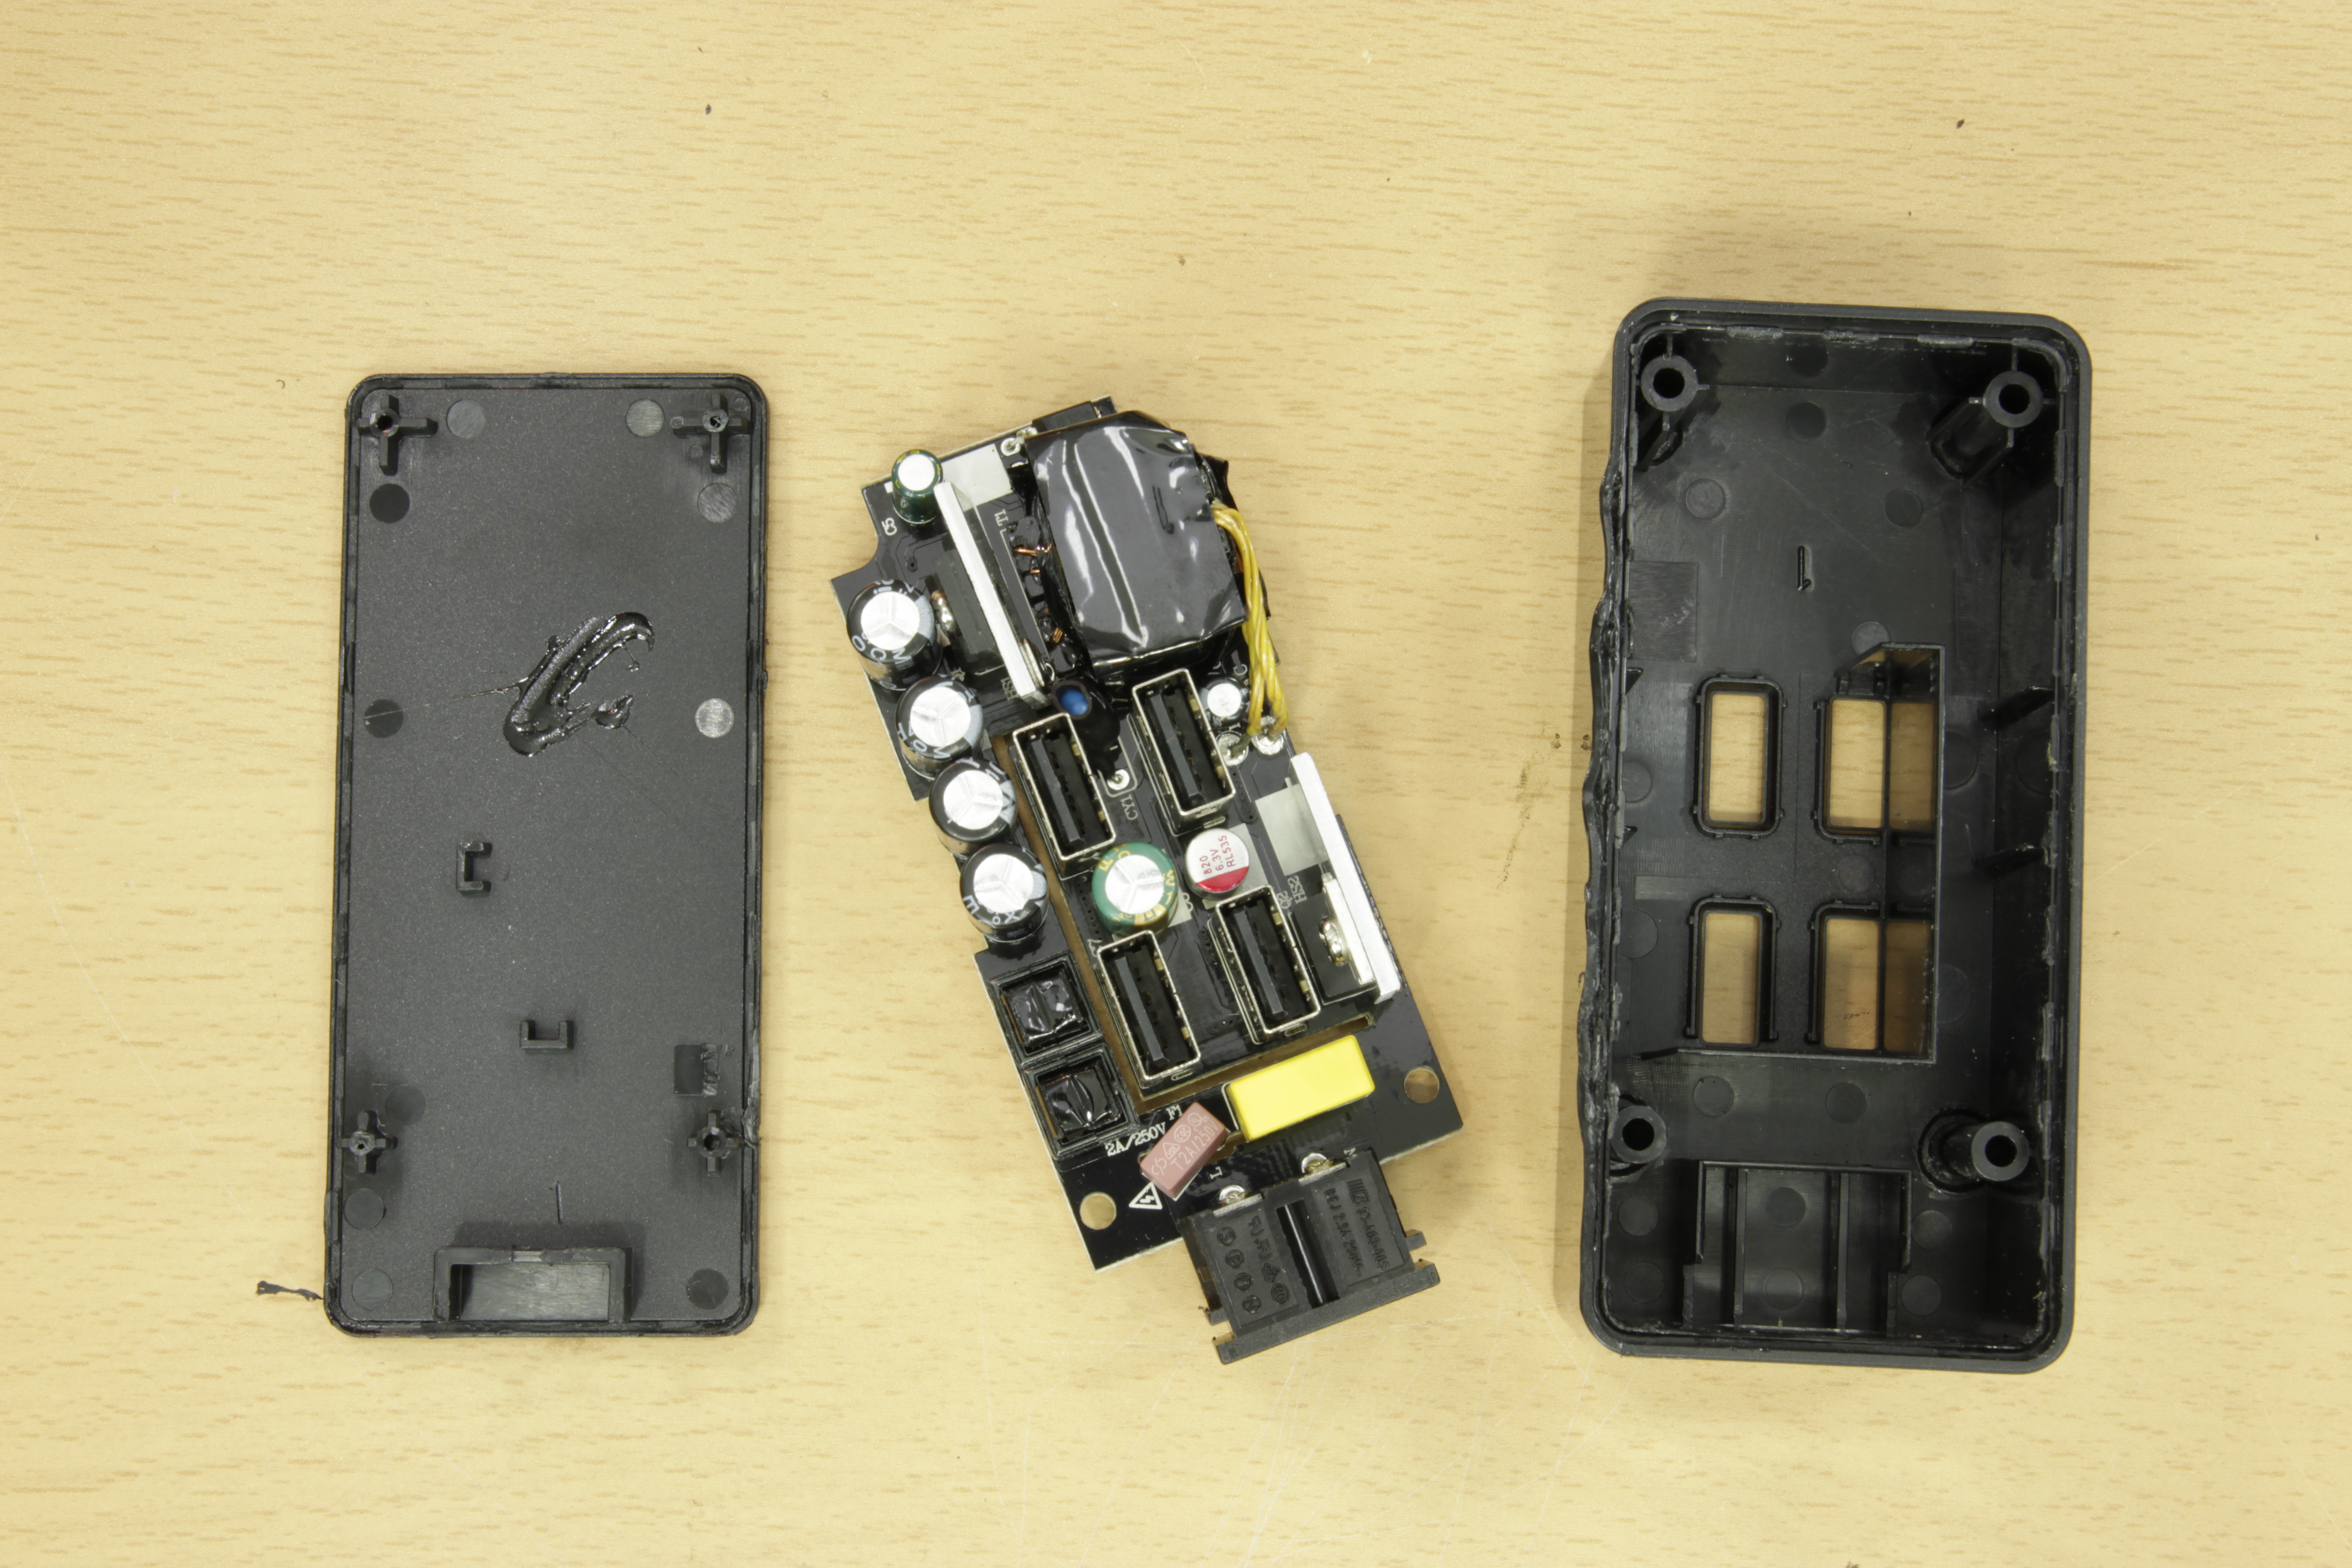
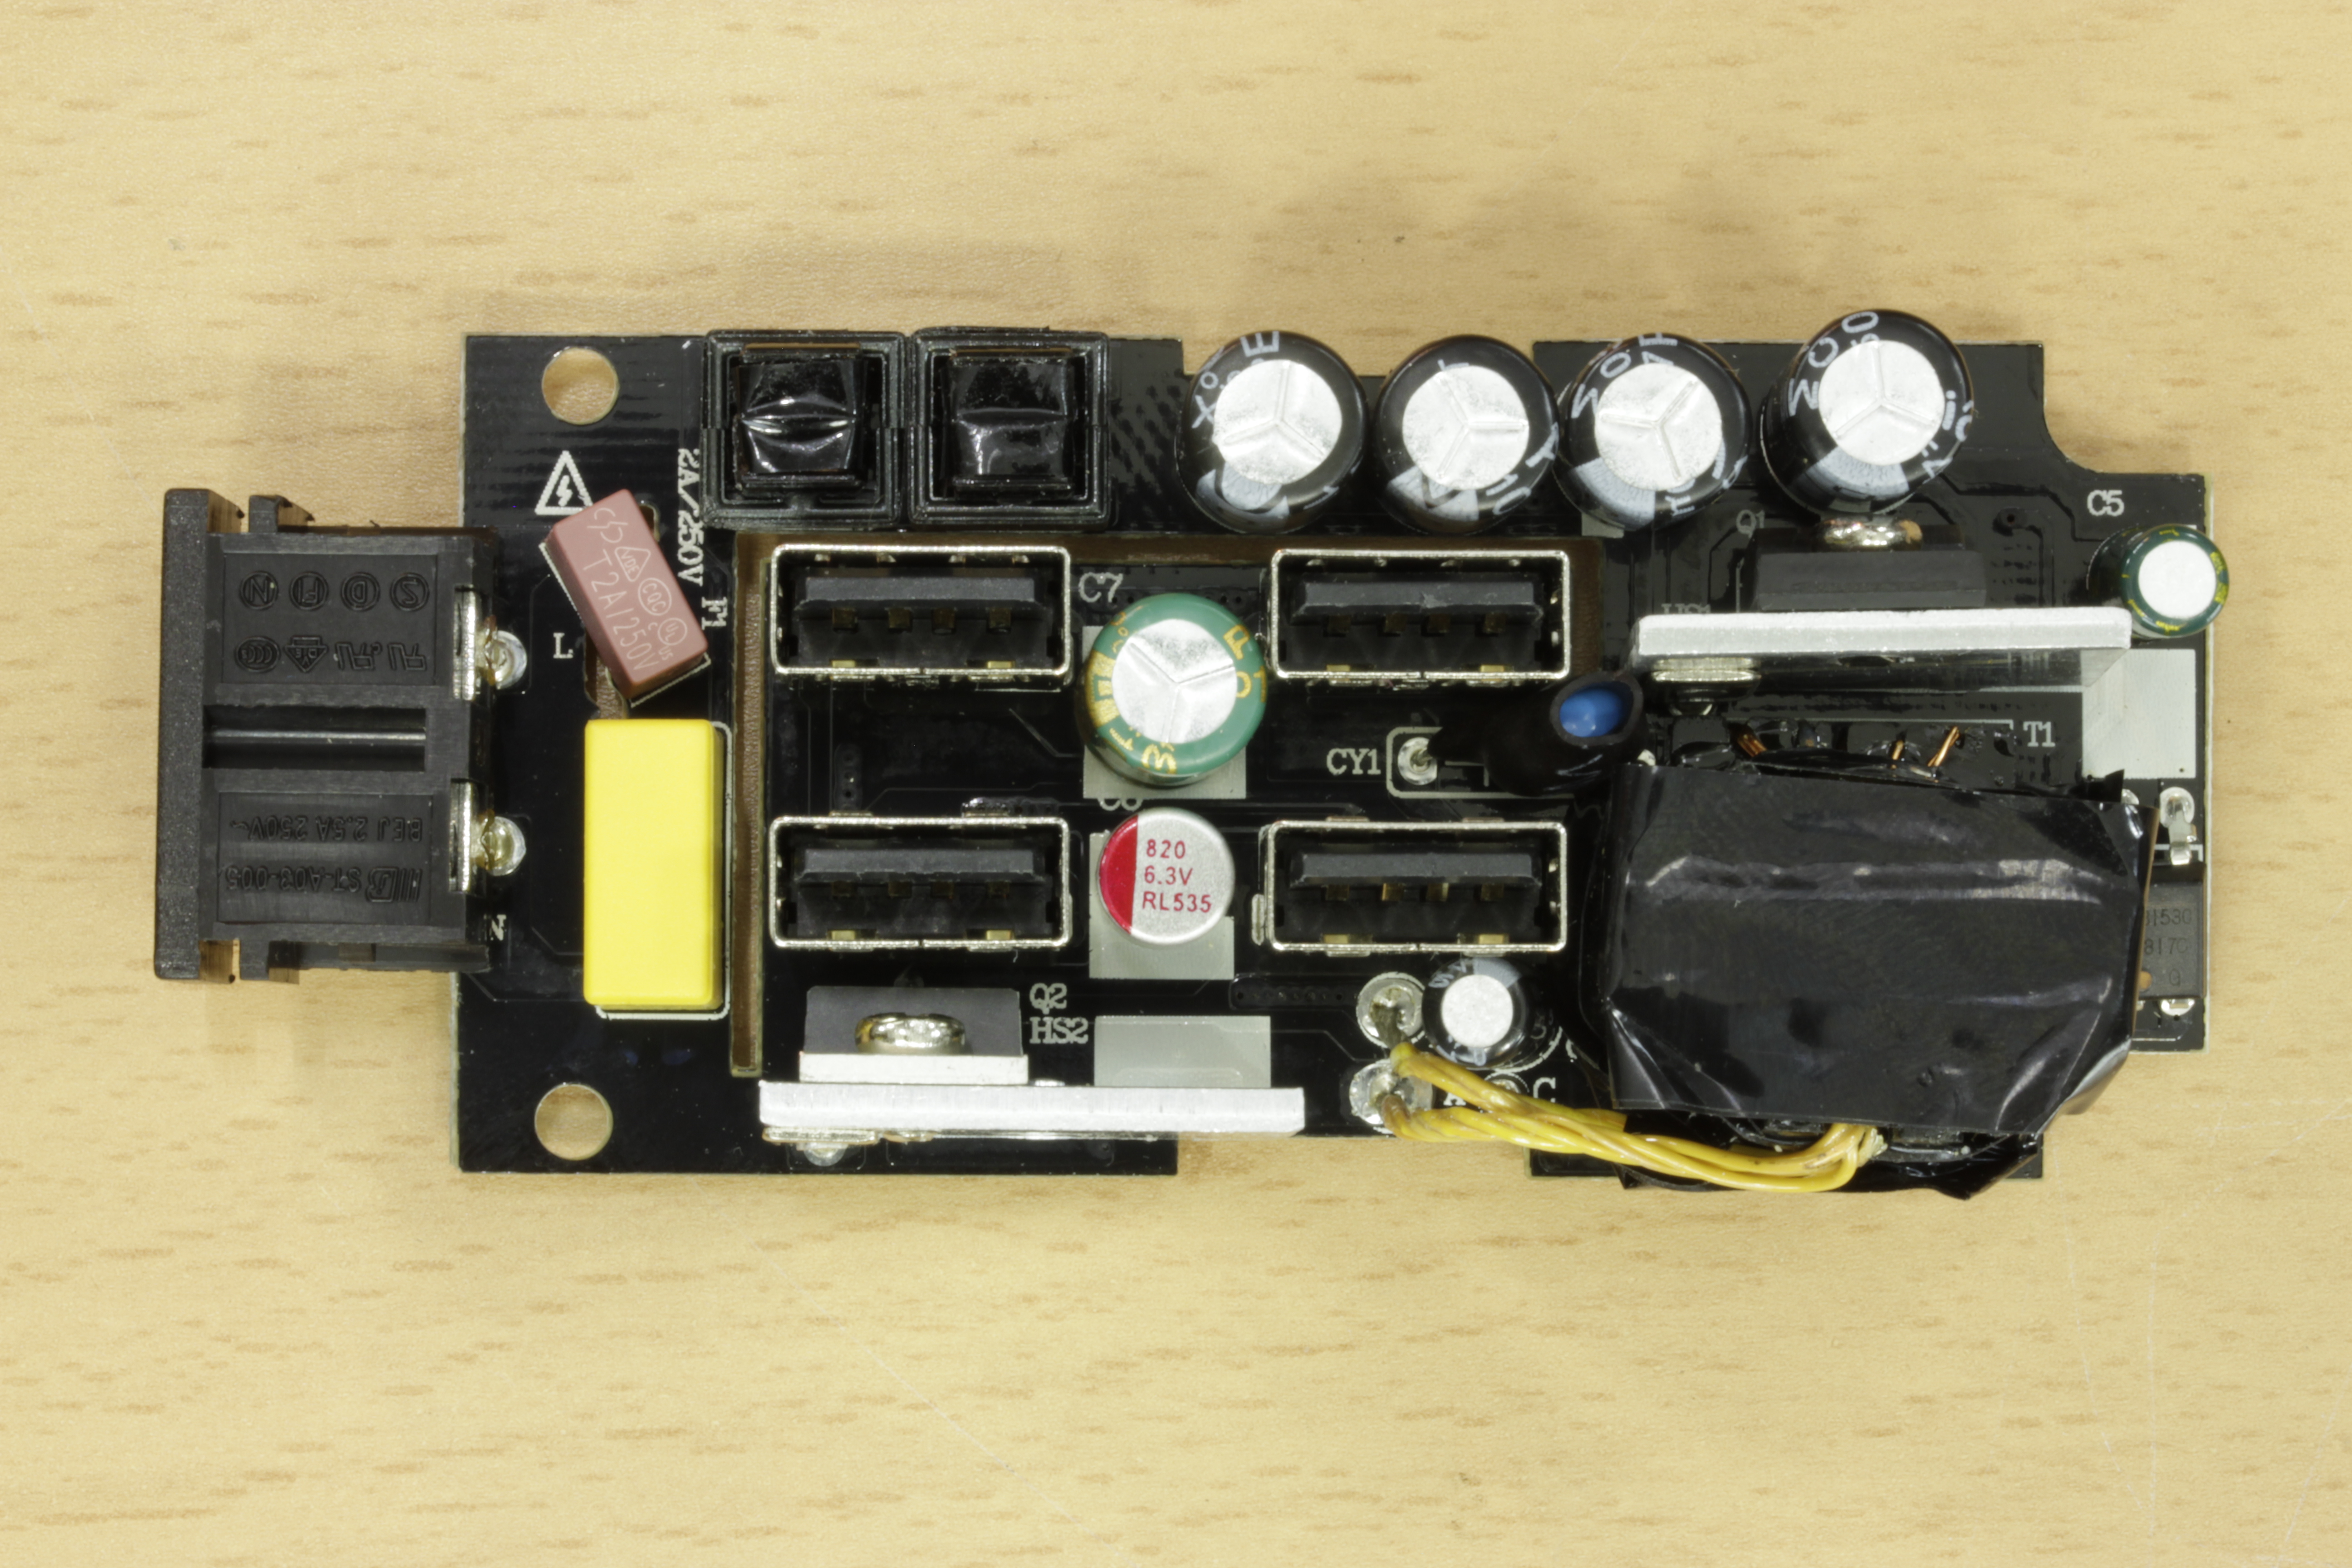
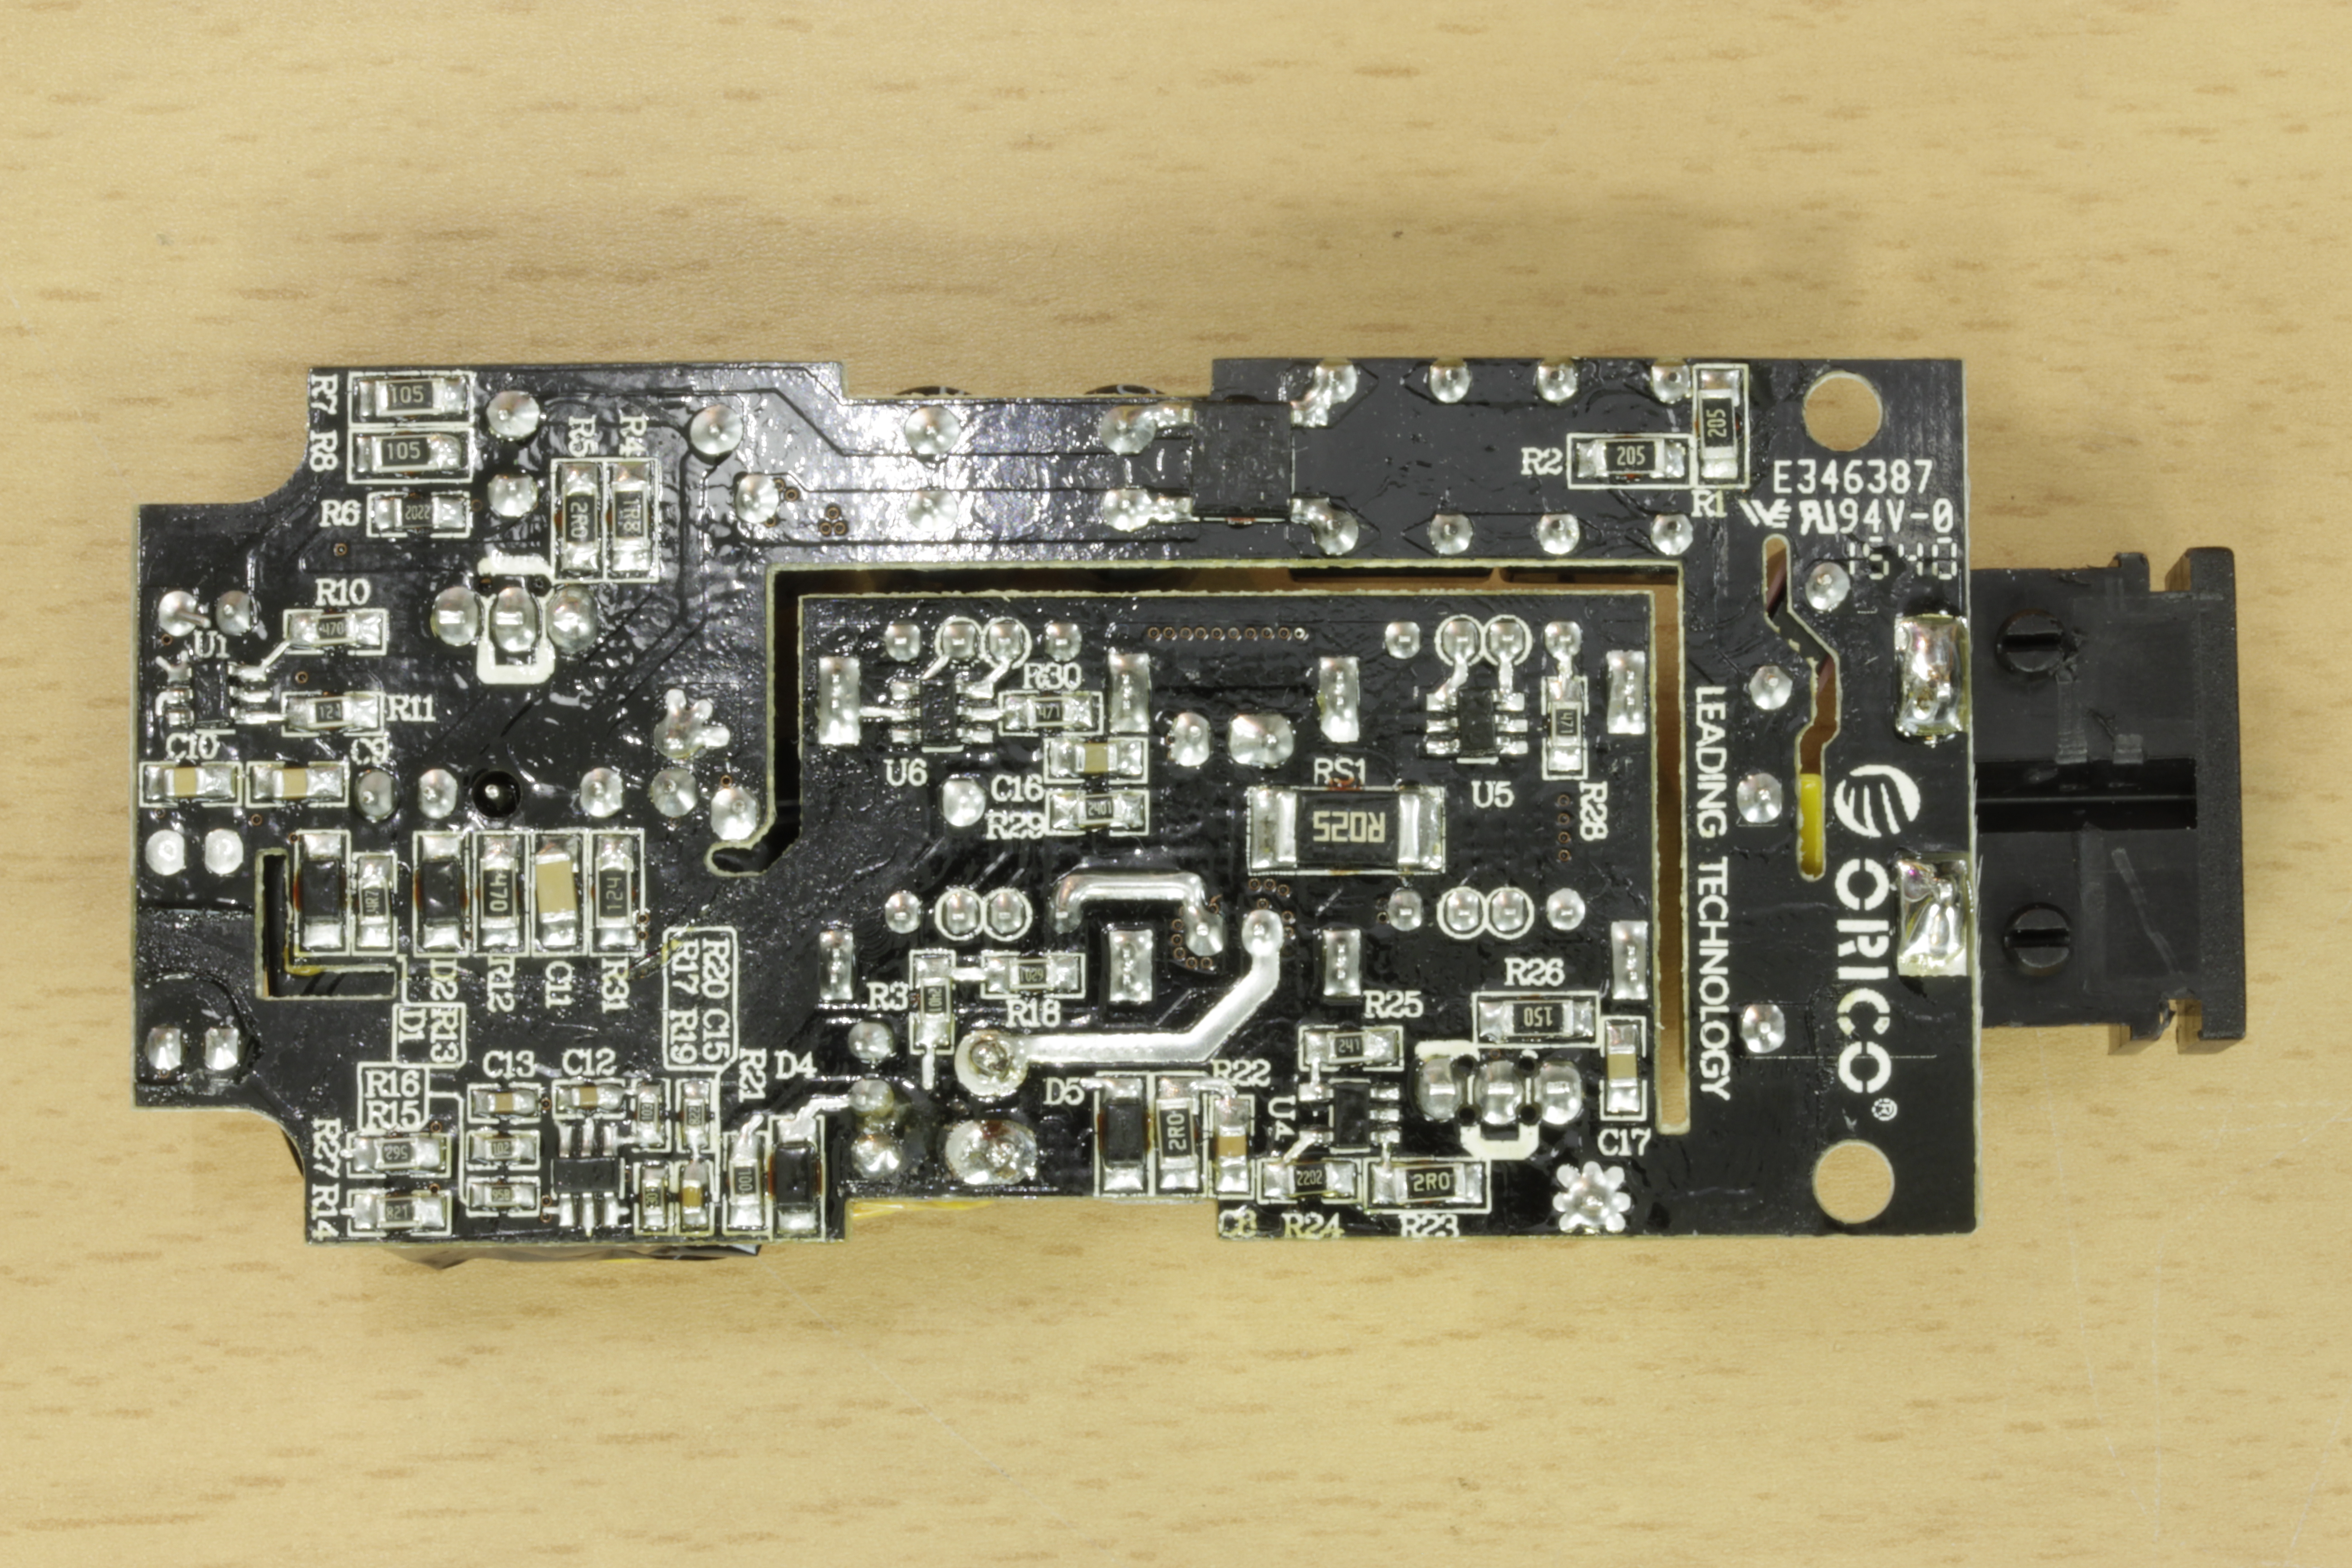
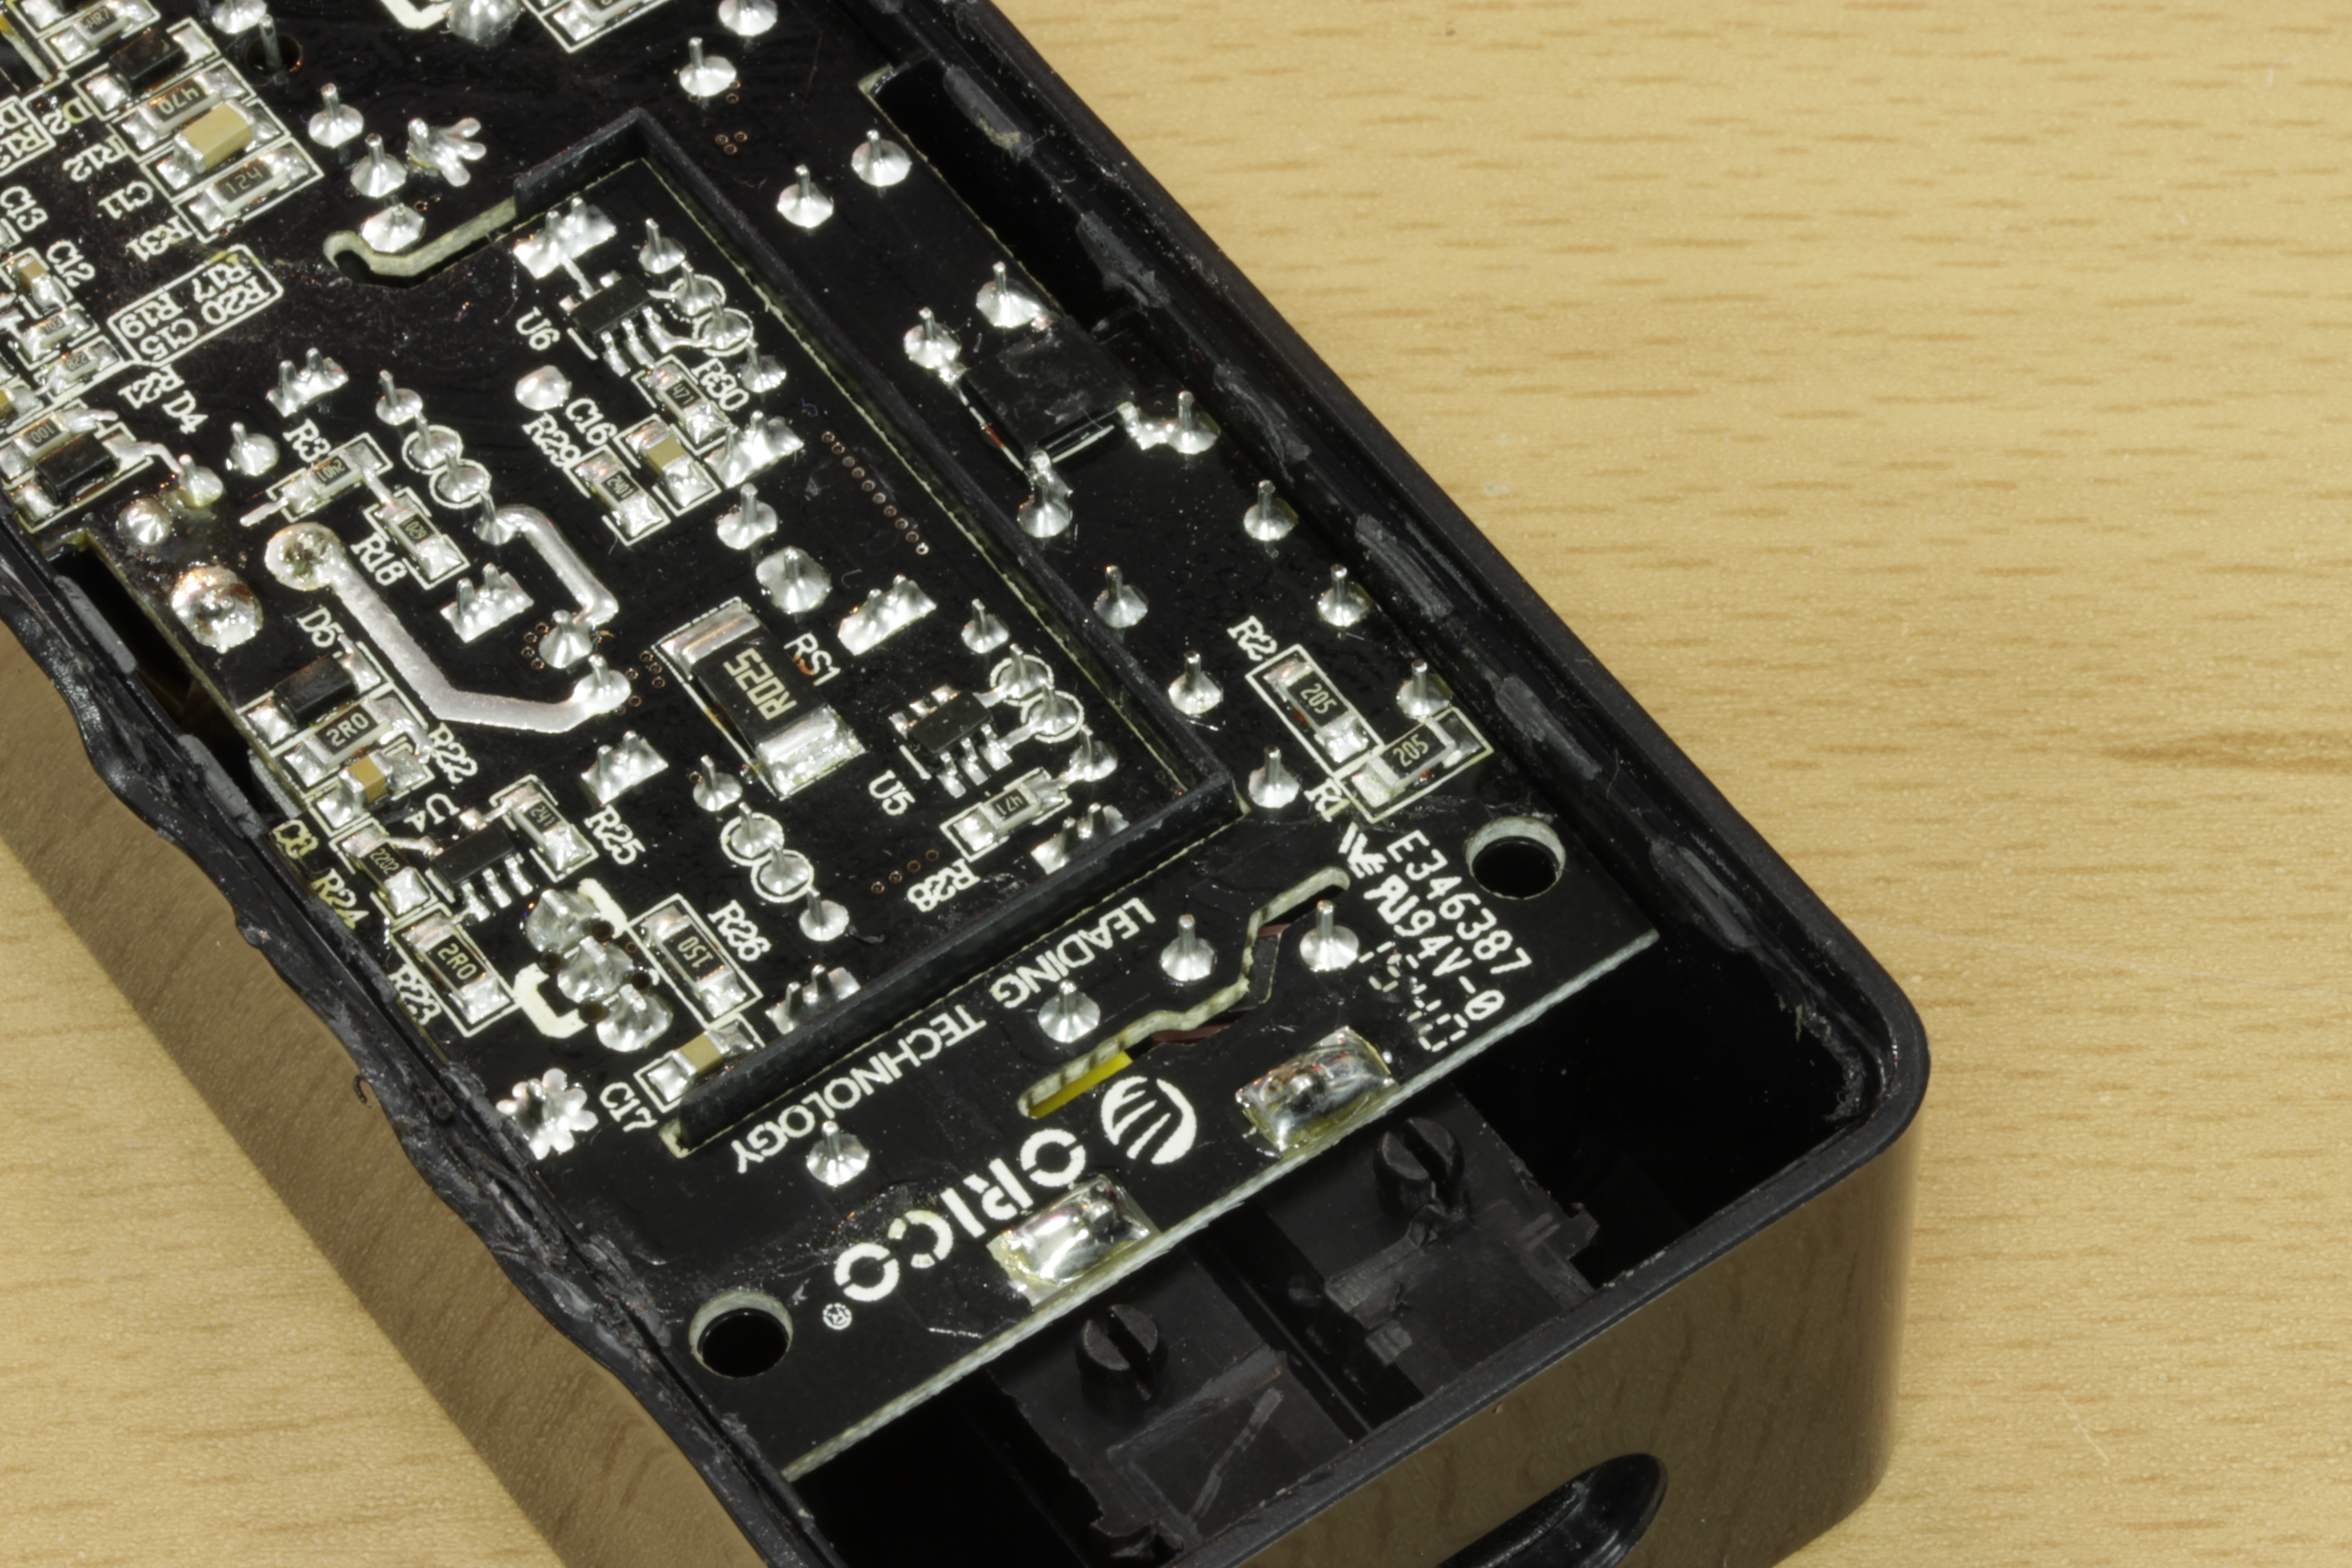
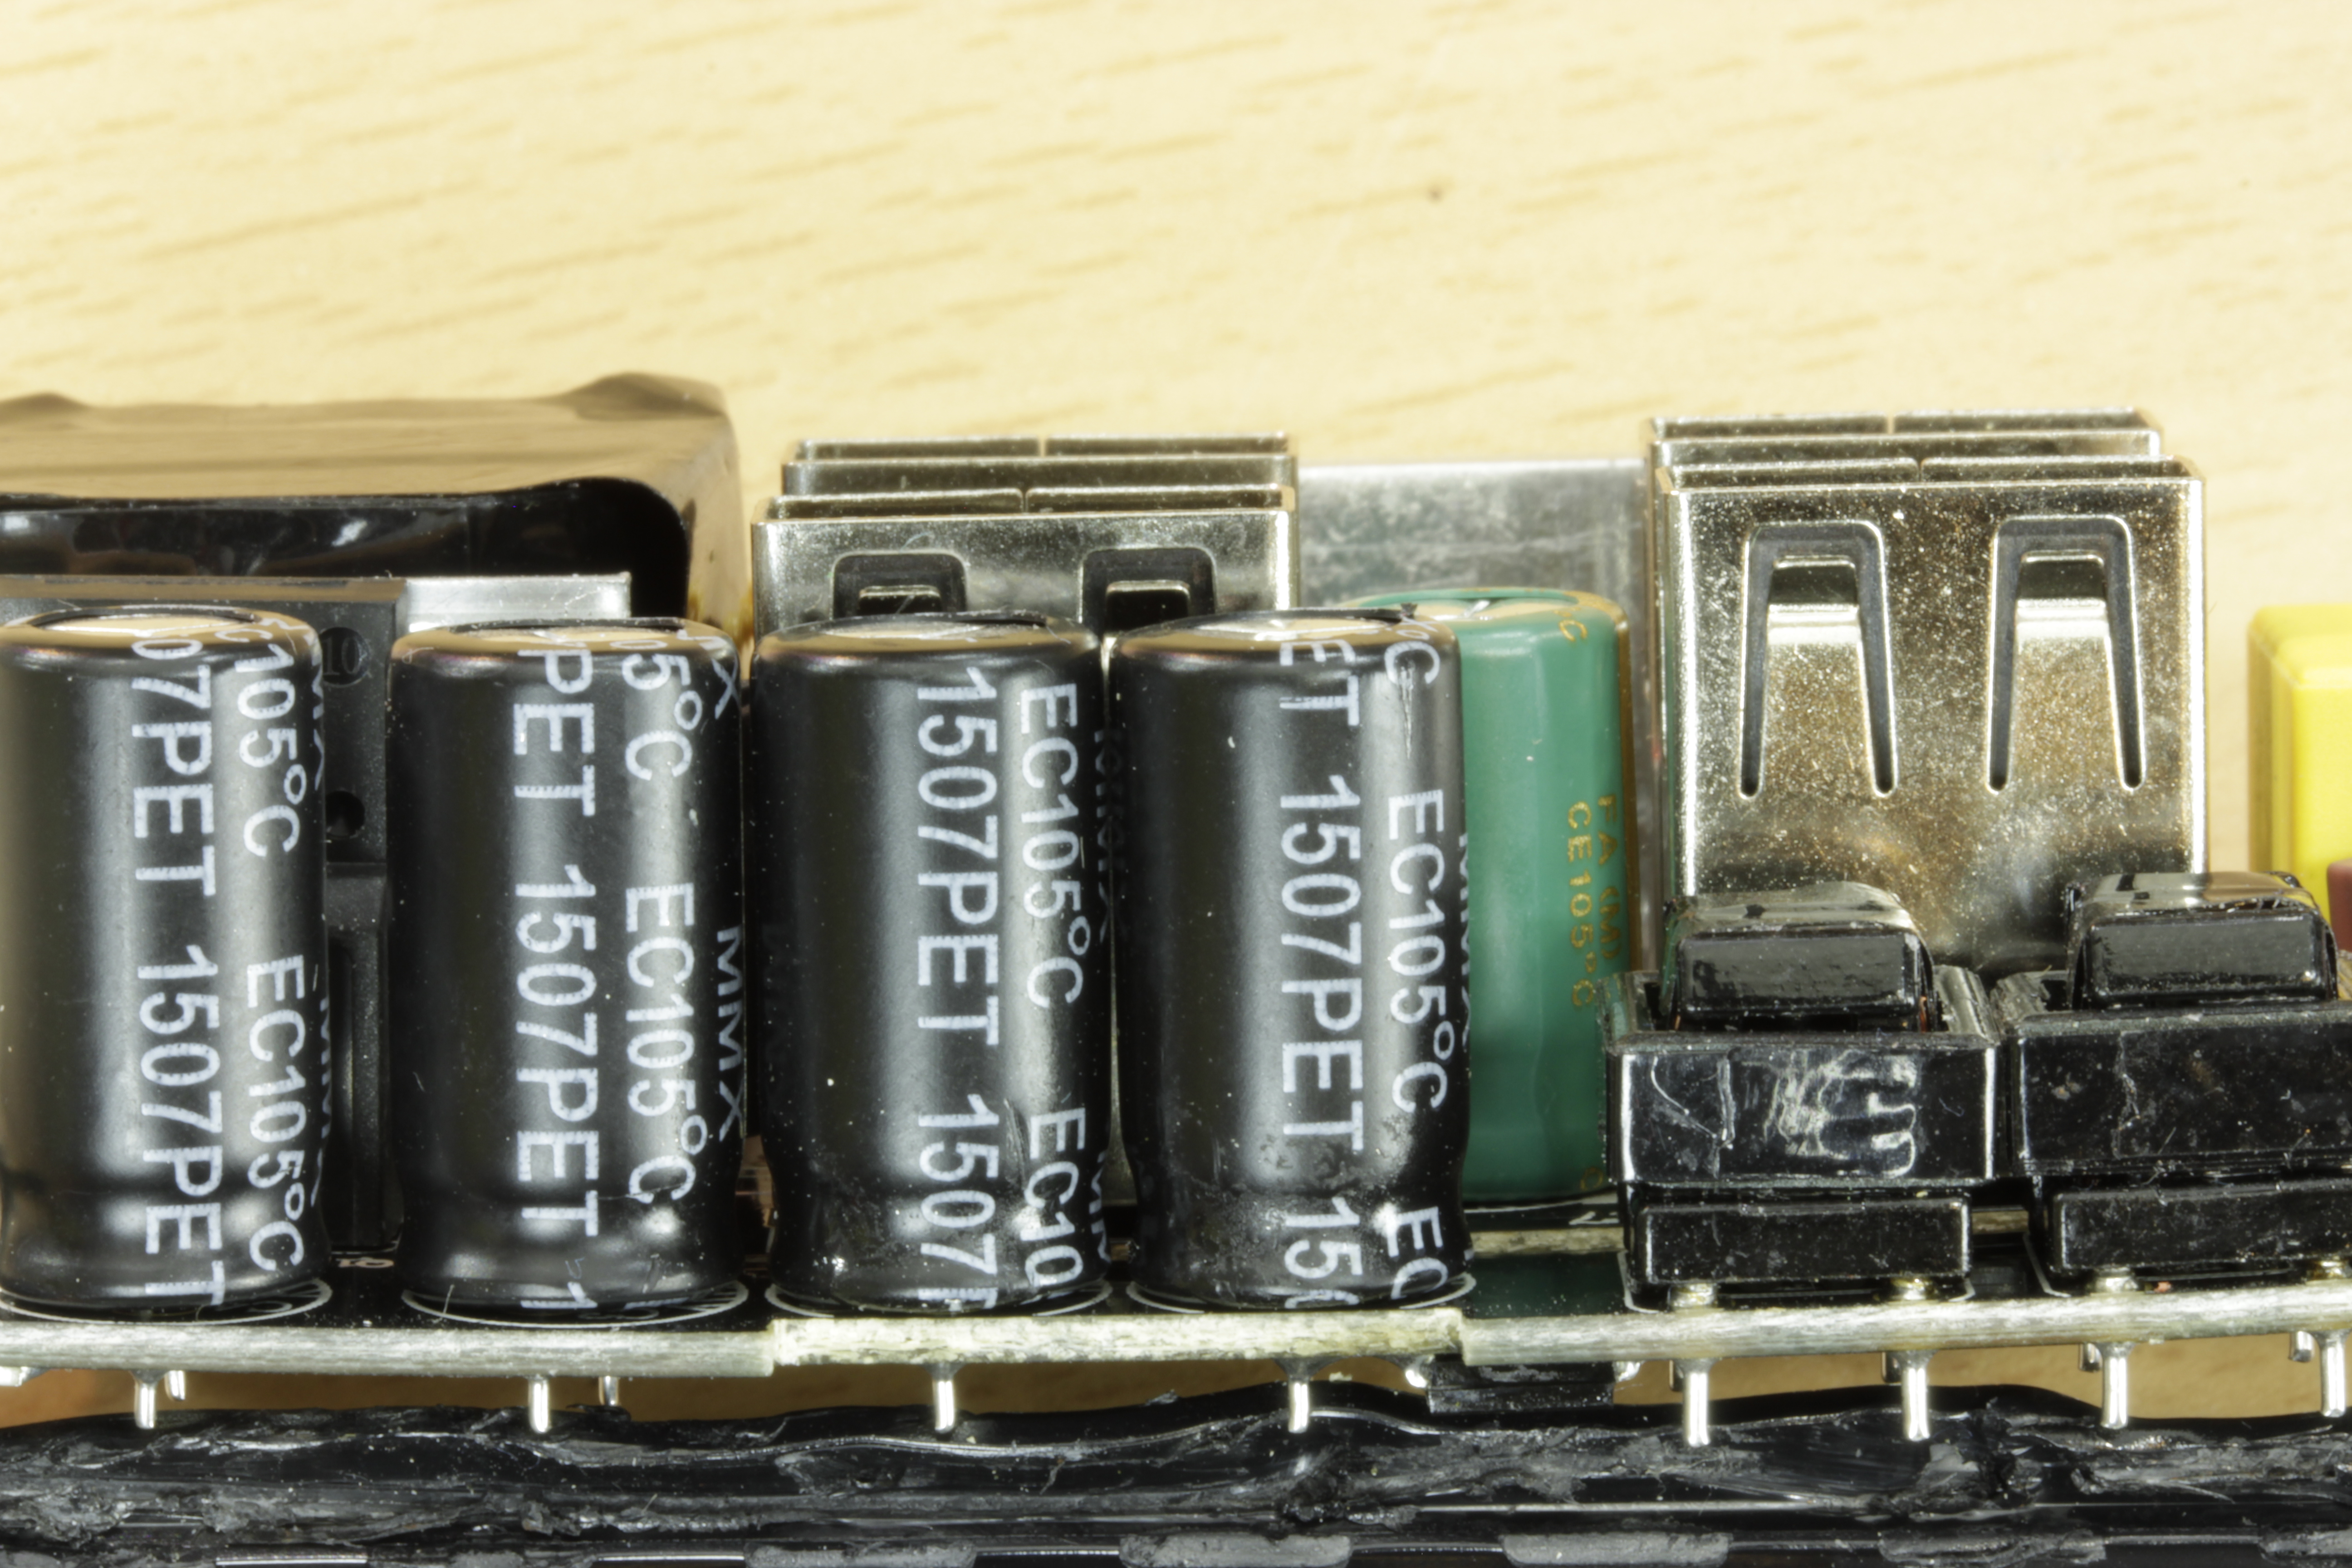
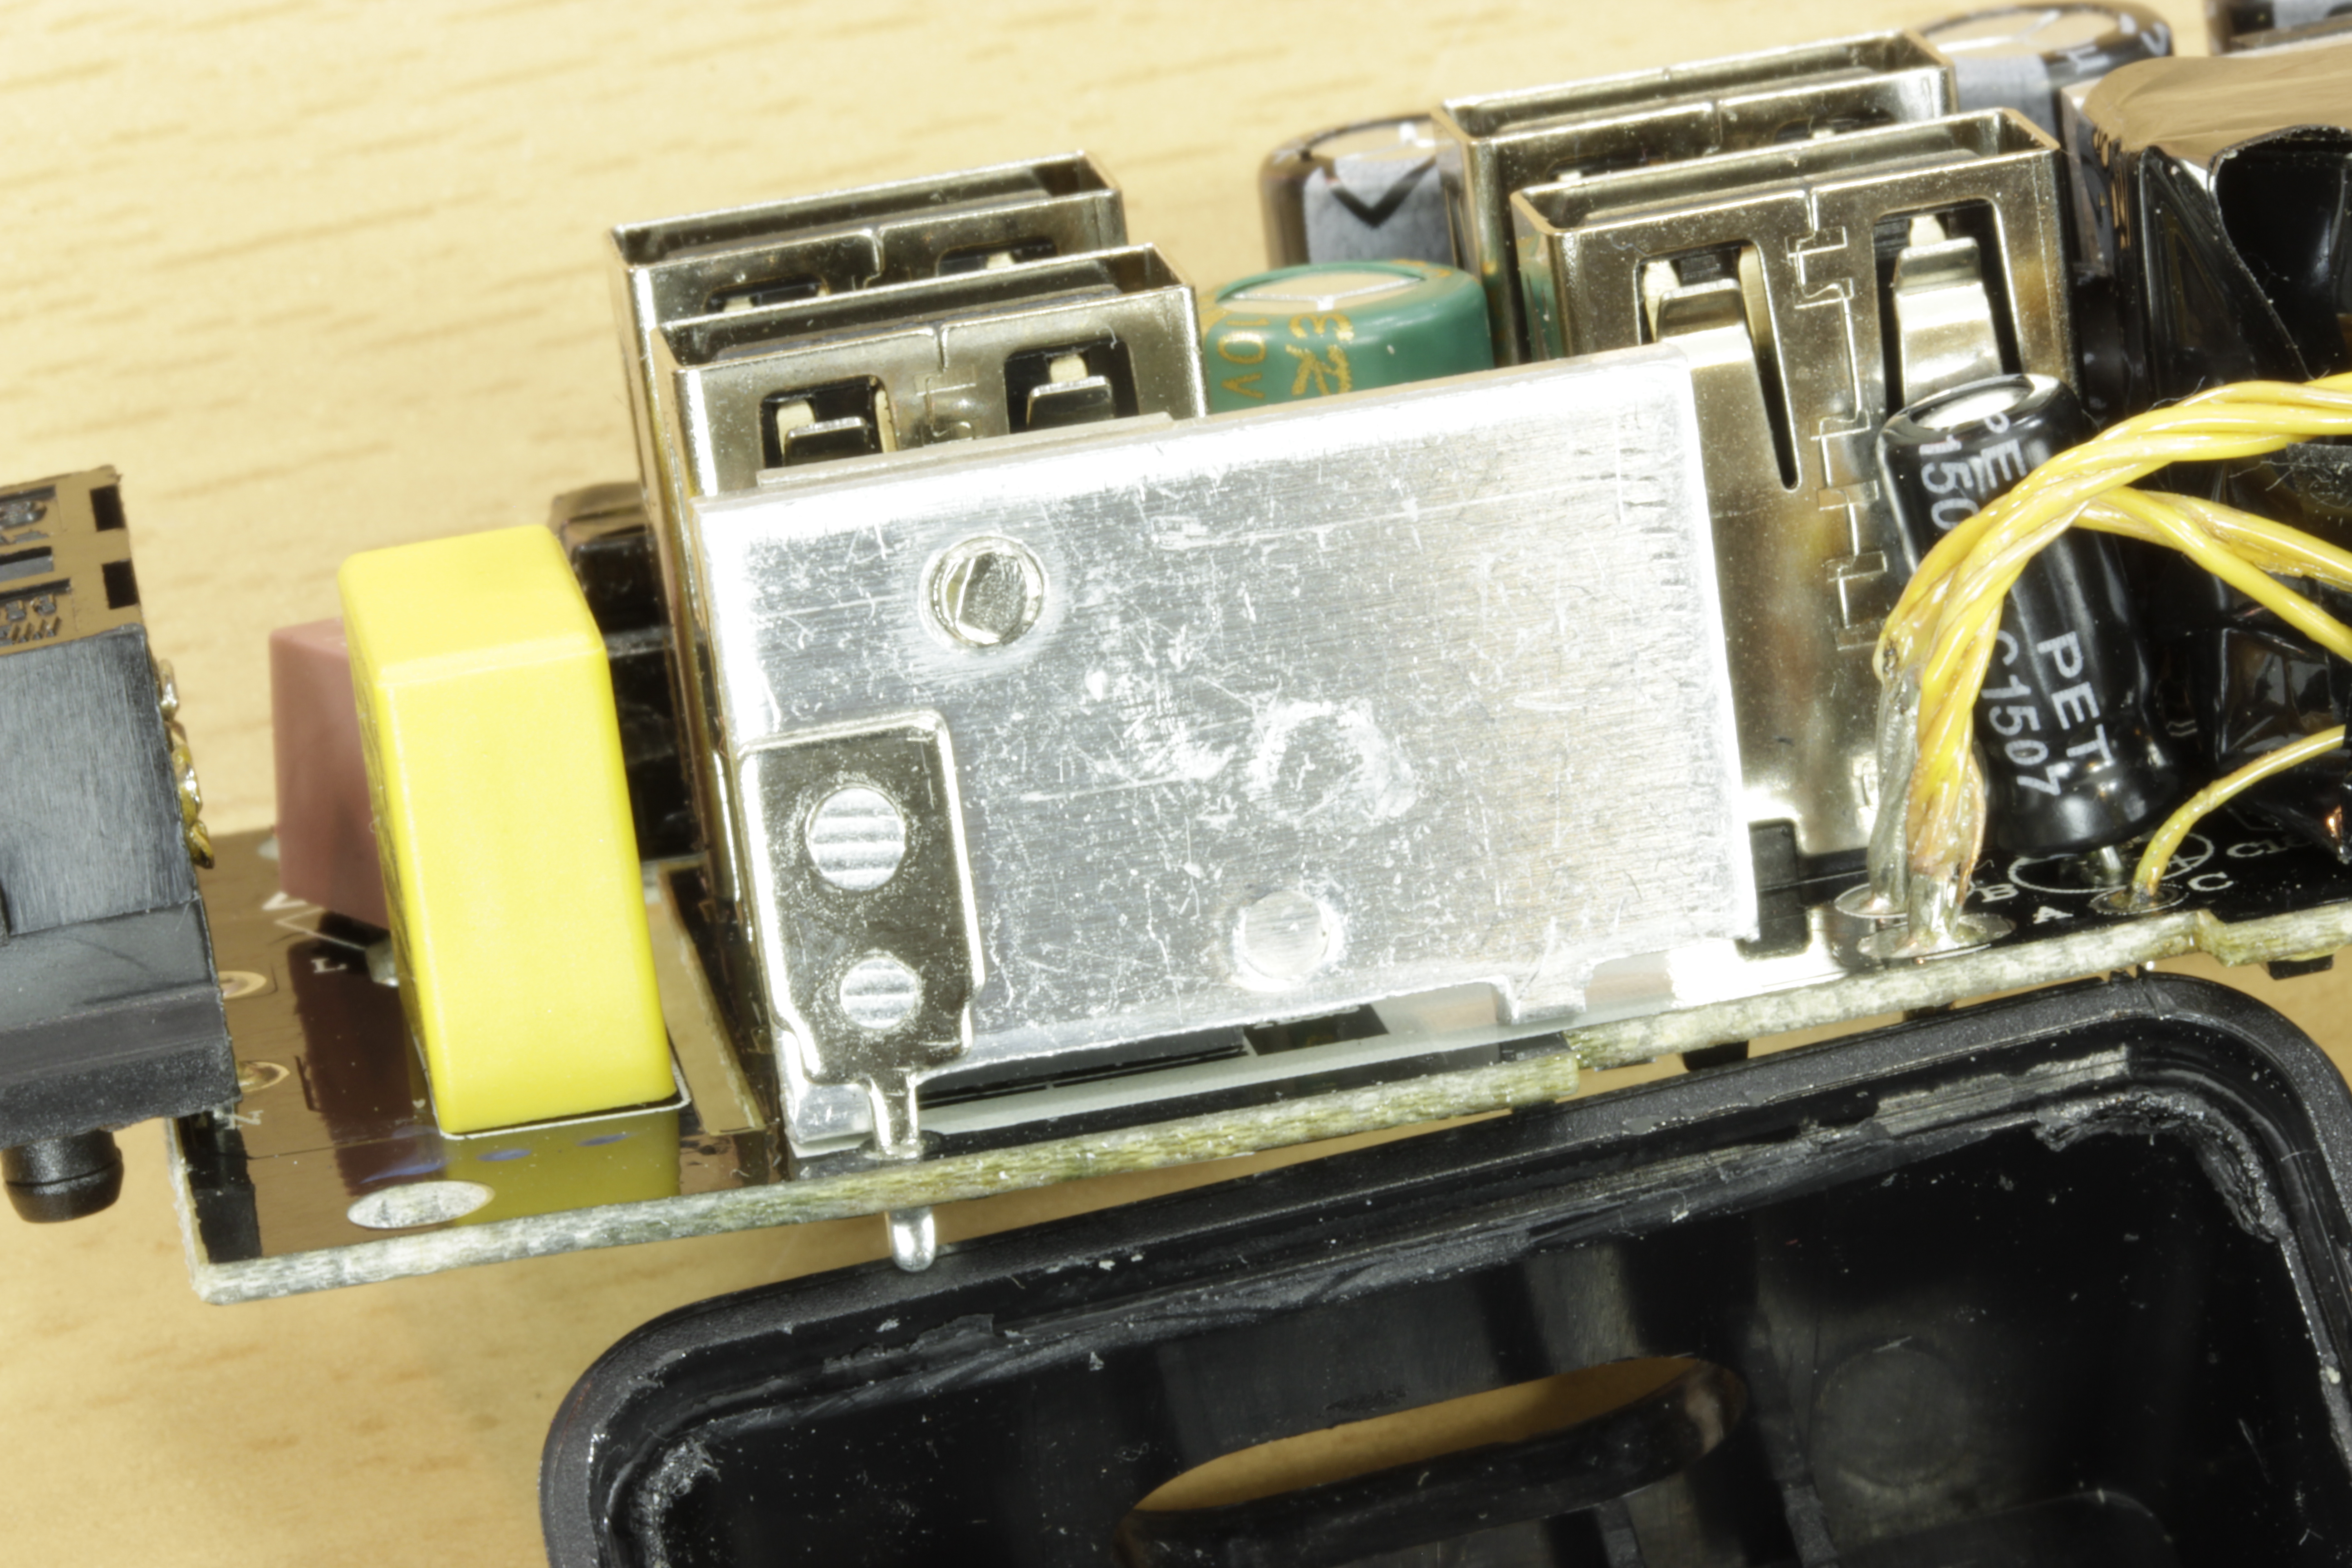
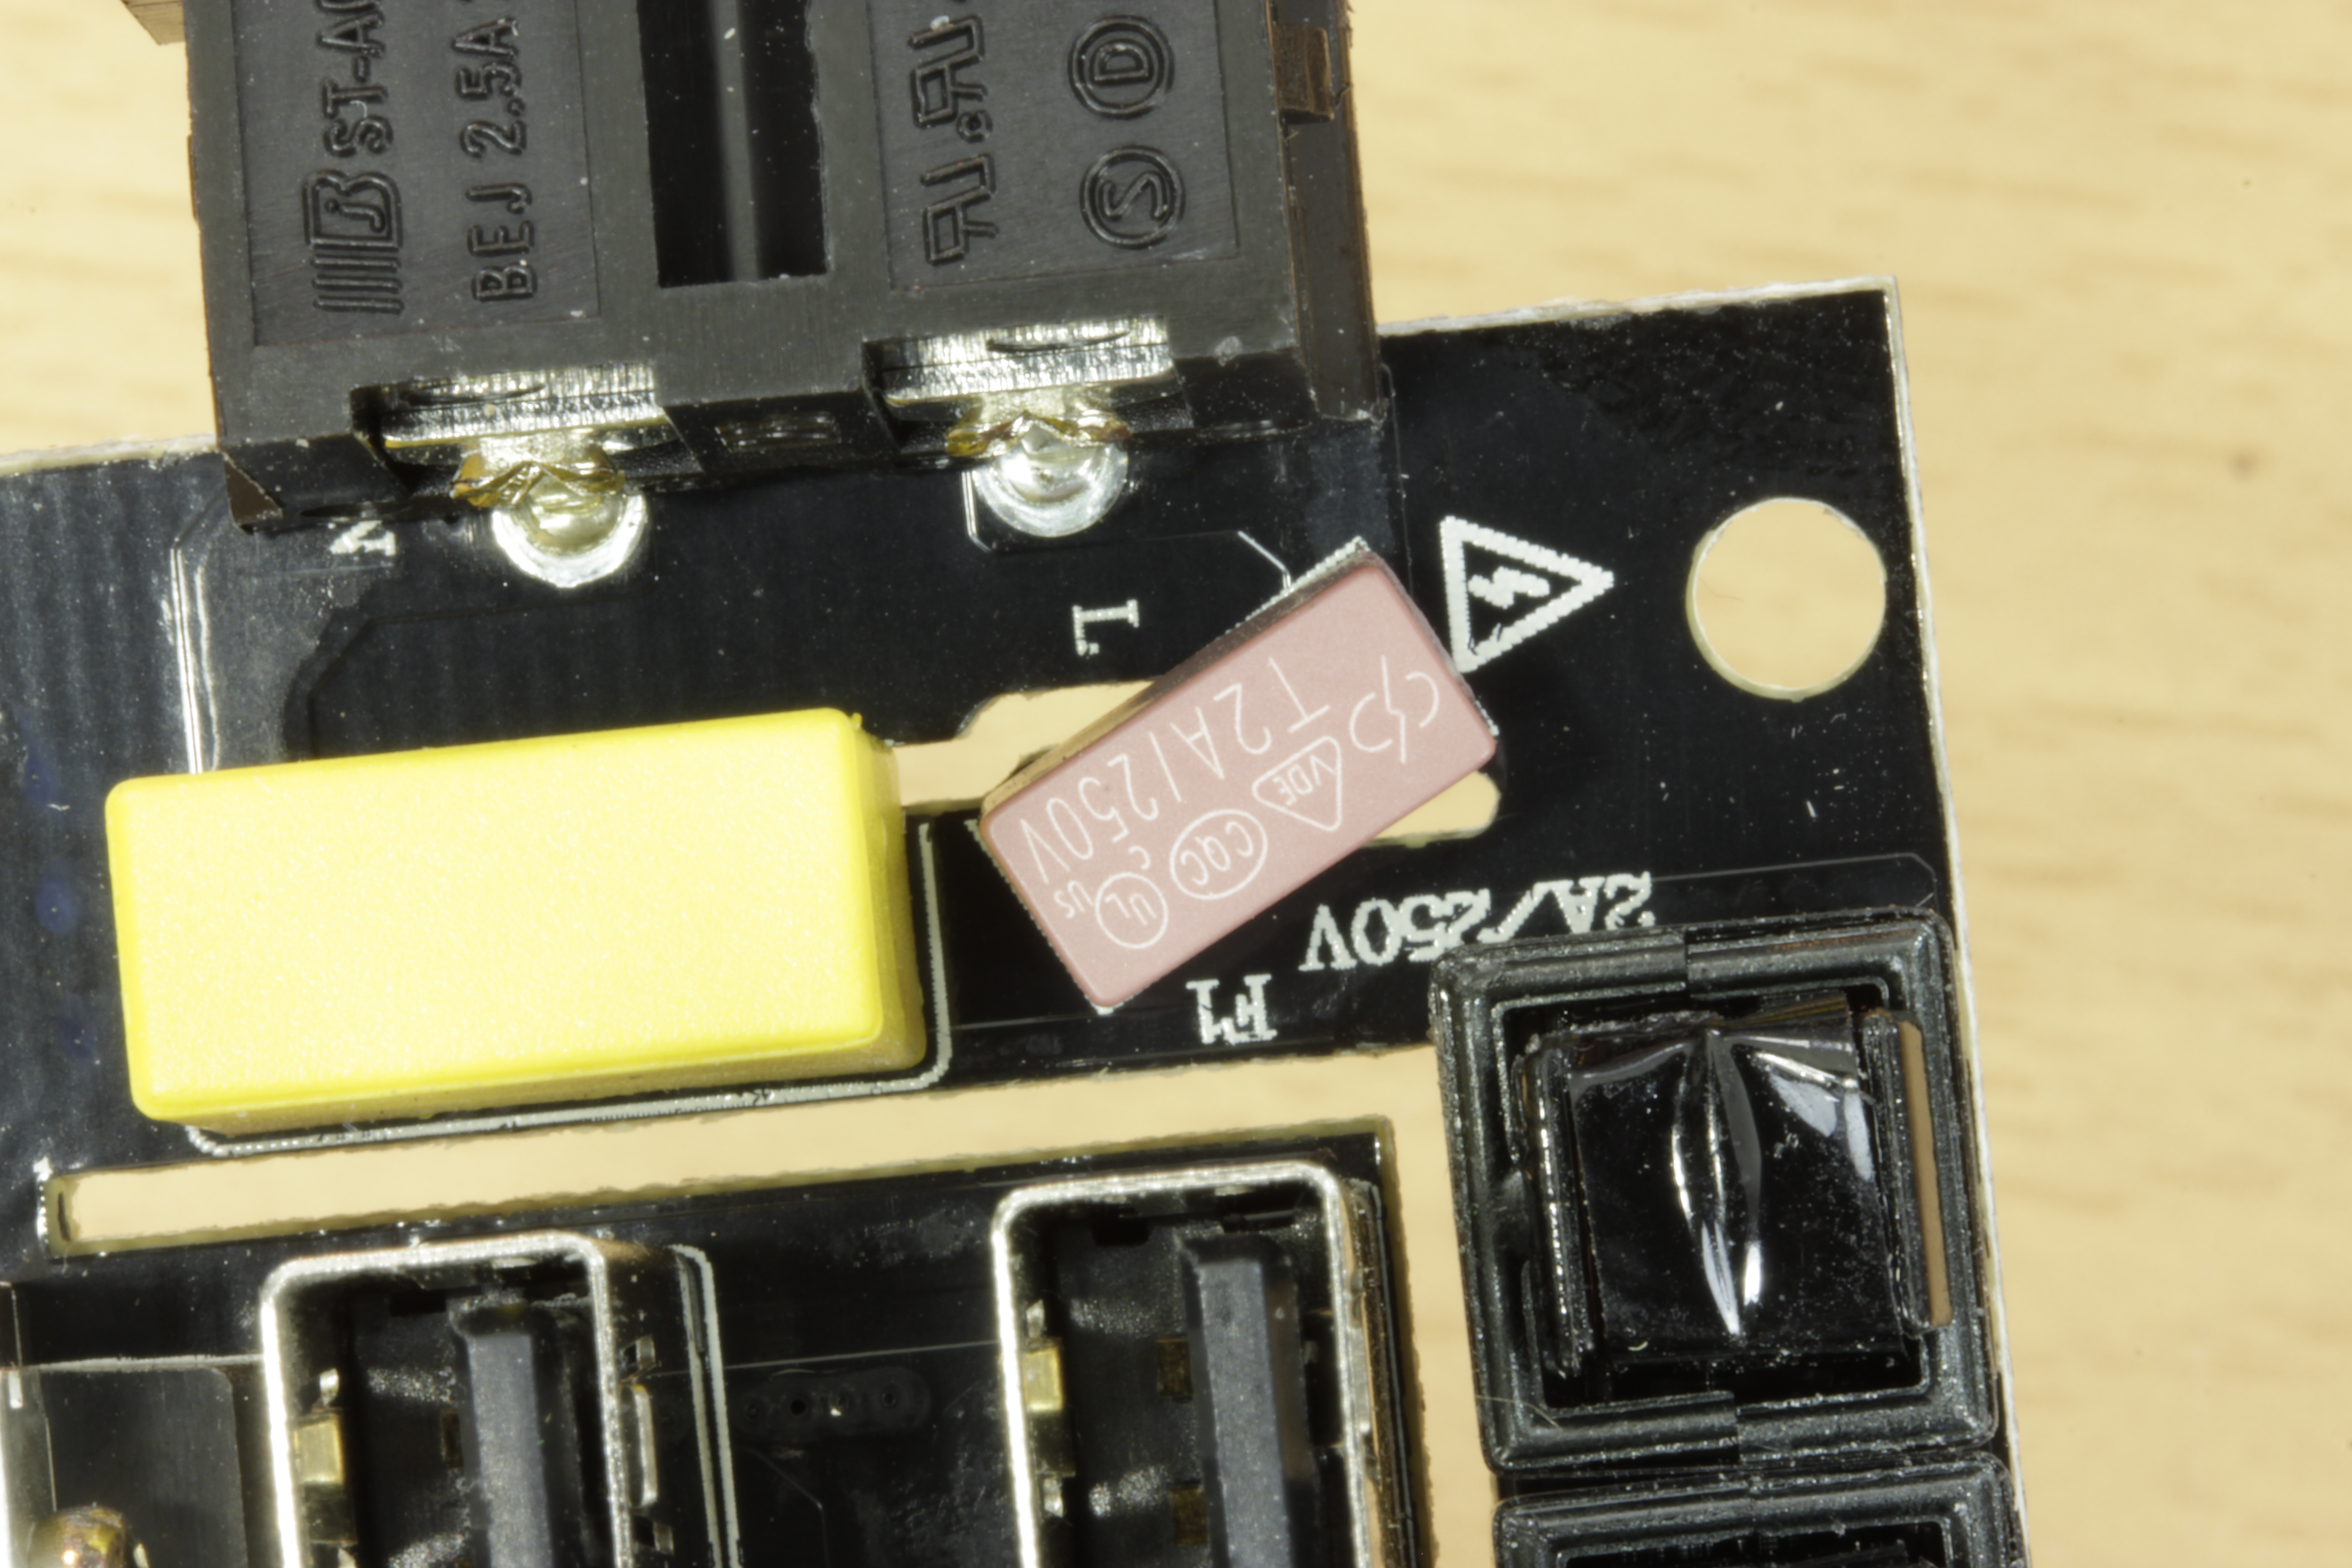
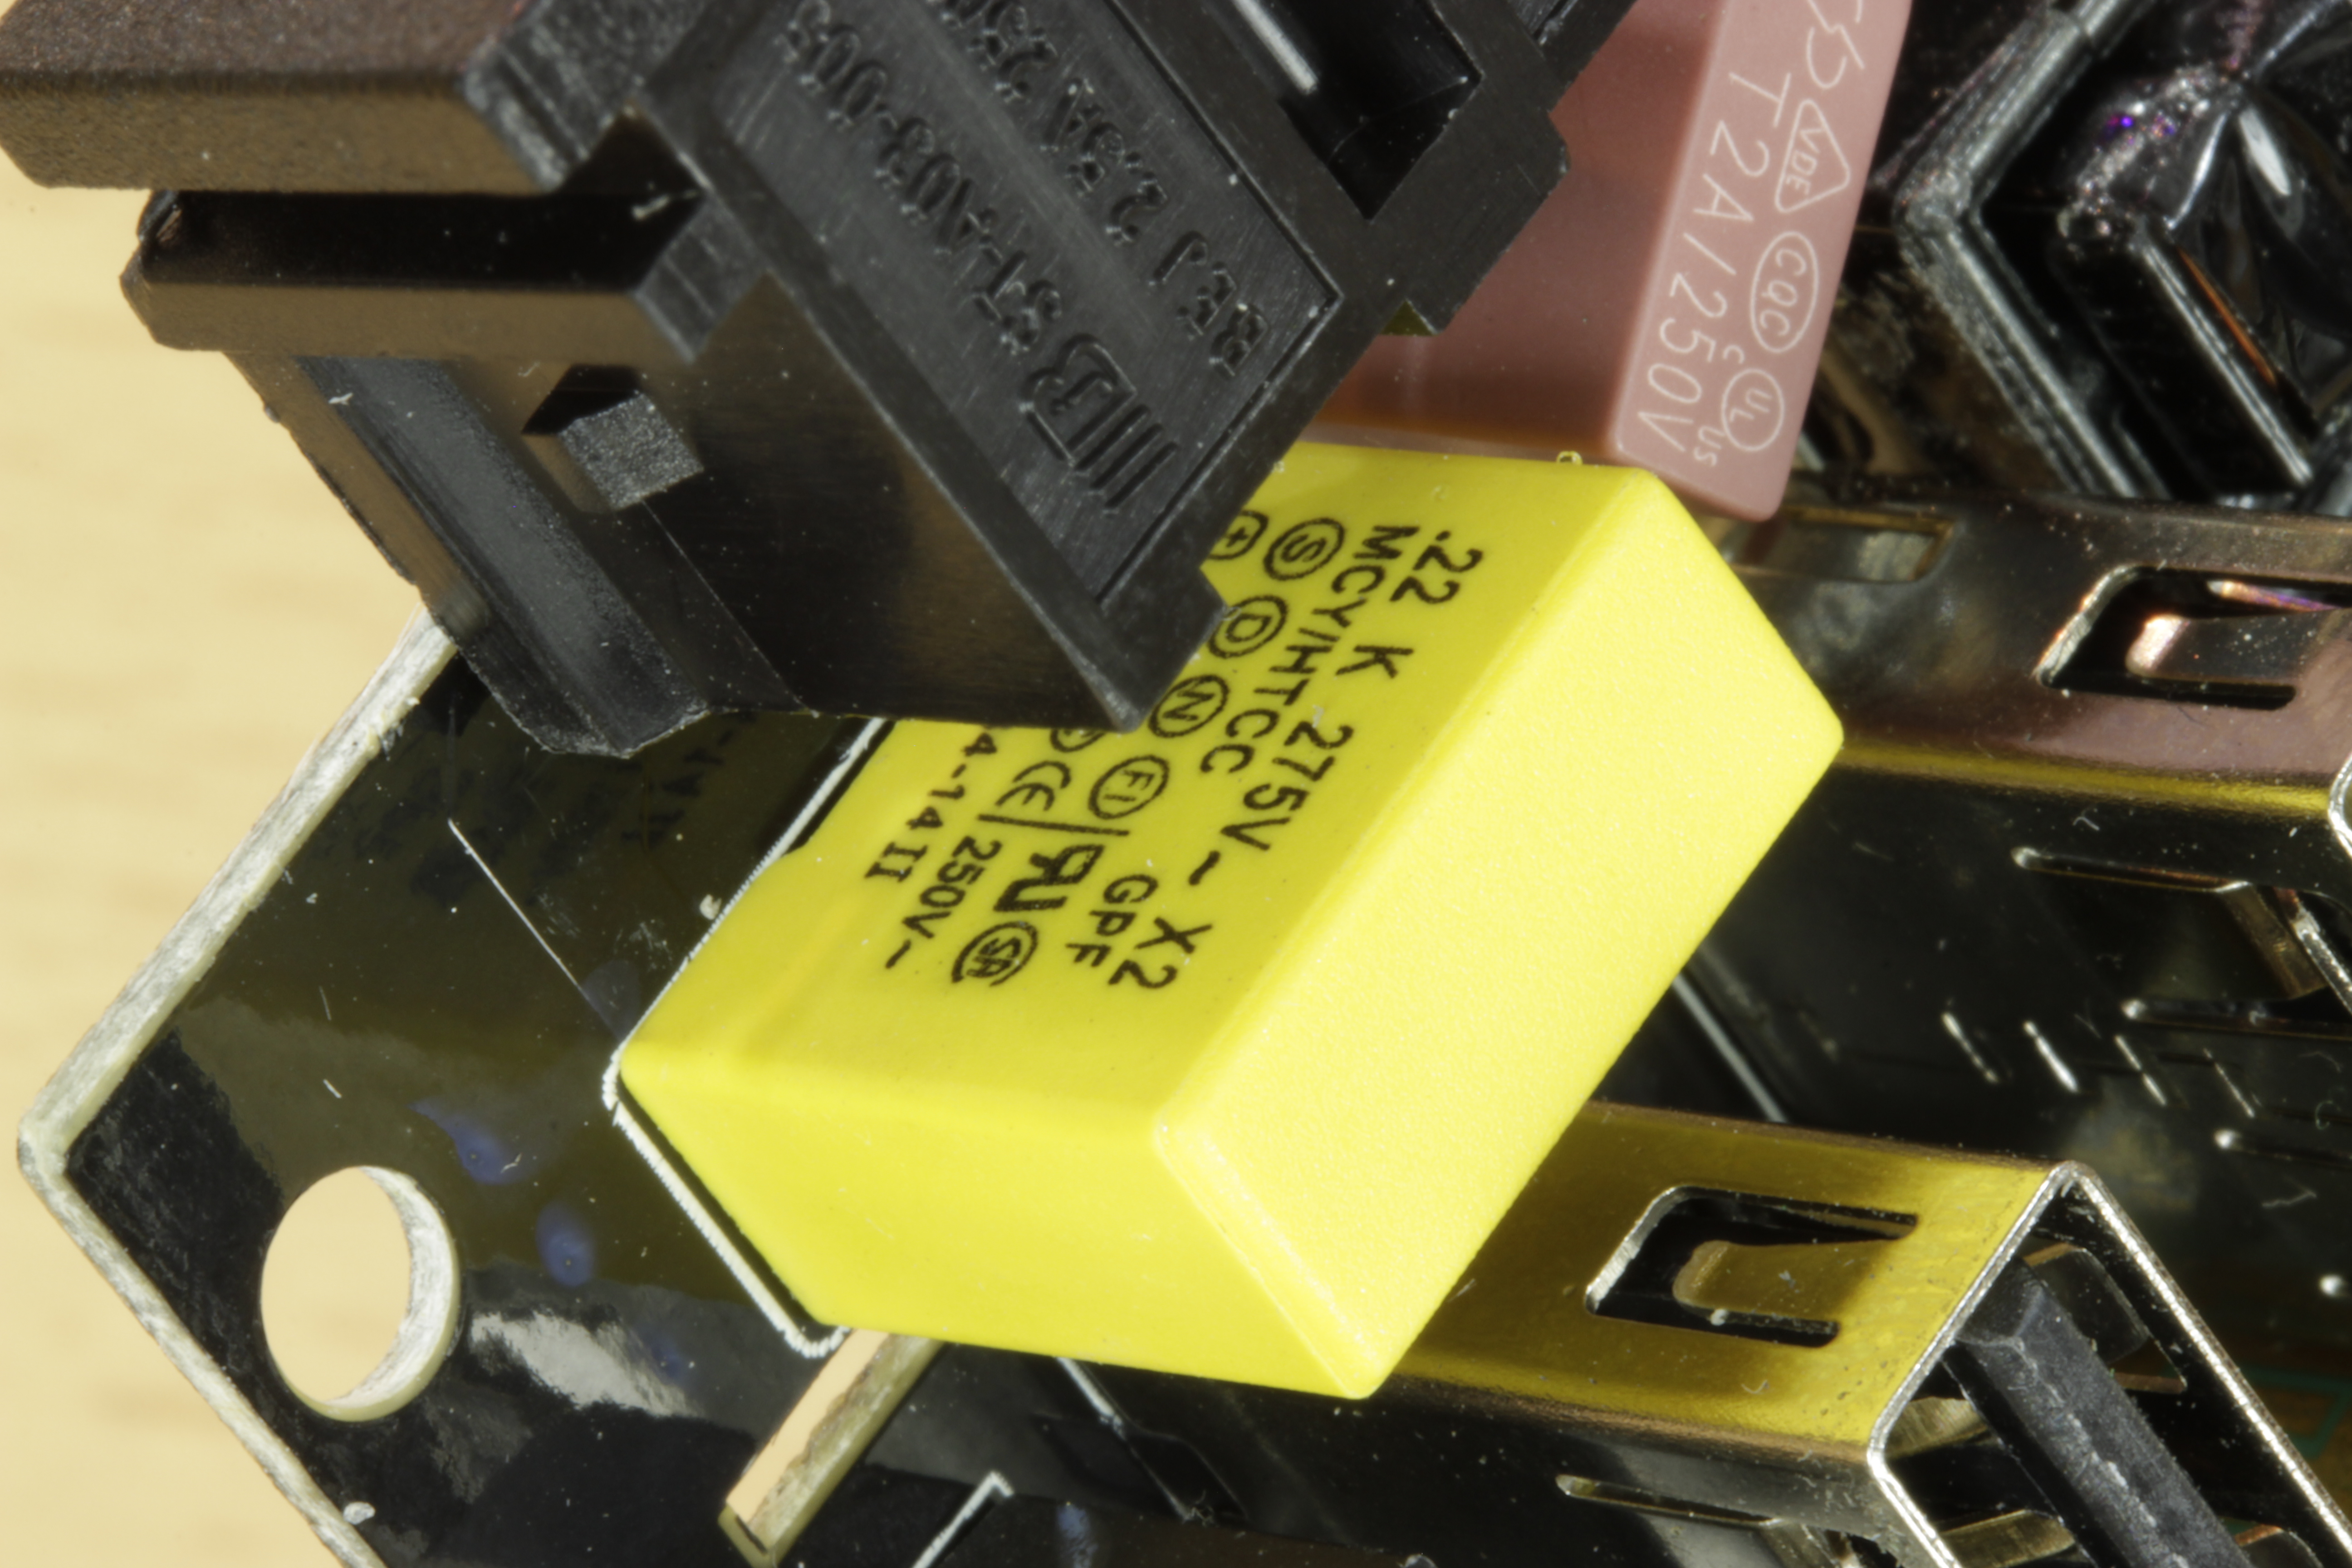
I had been looking for a cheap and cheerful USB power supply for general charging of phones, tablets, and plenty of etcetera. Hence I ordered this ORICO 4-Port USB Charger with high hopes!
I never have too much optimism when it comes to crap from AliExpress, but not only did this ship from California, it also seems to be a really good buy.
Some of the testing I did on this was inspired by Clive at bigclive.com who does an absolutely obsessive number of teardowns on his YouTube channel. If you haven’t heard of him and you like that sort of this, give it a look! (Plus he has a much better accent than I do.)
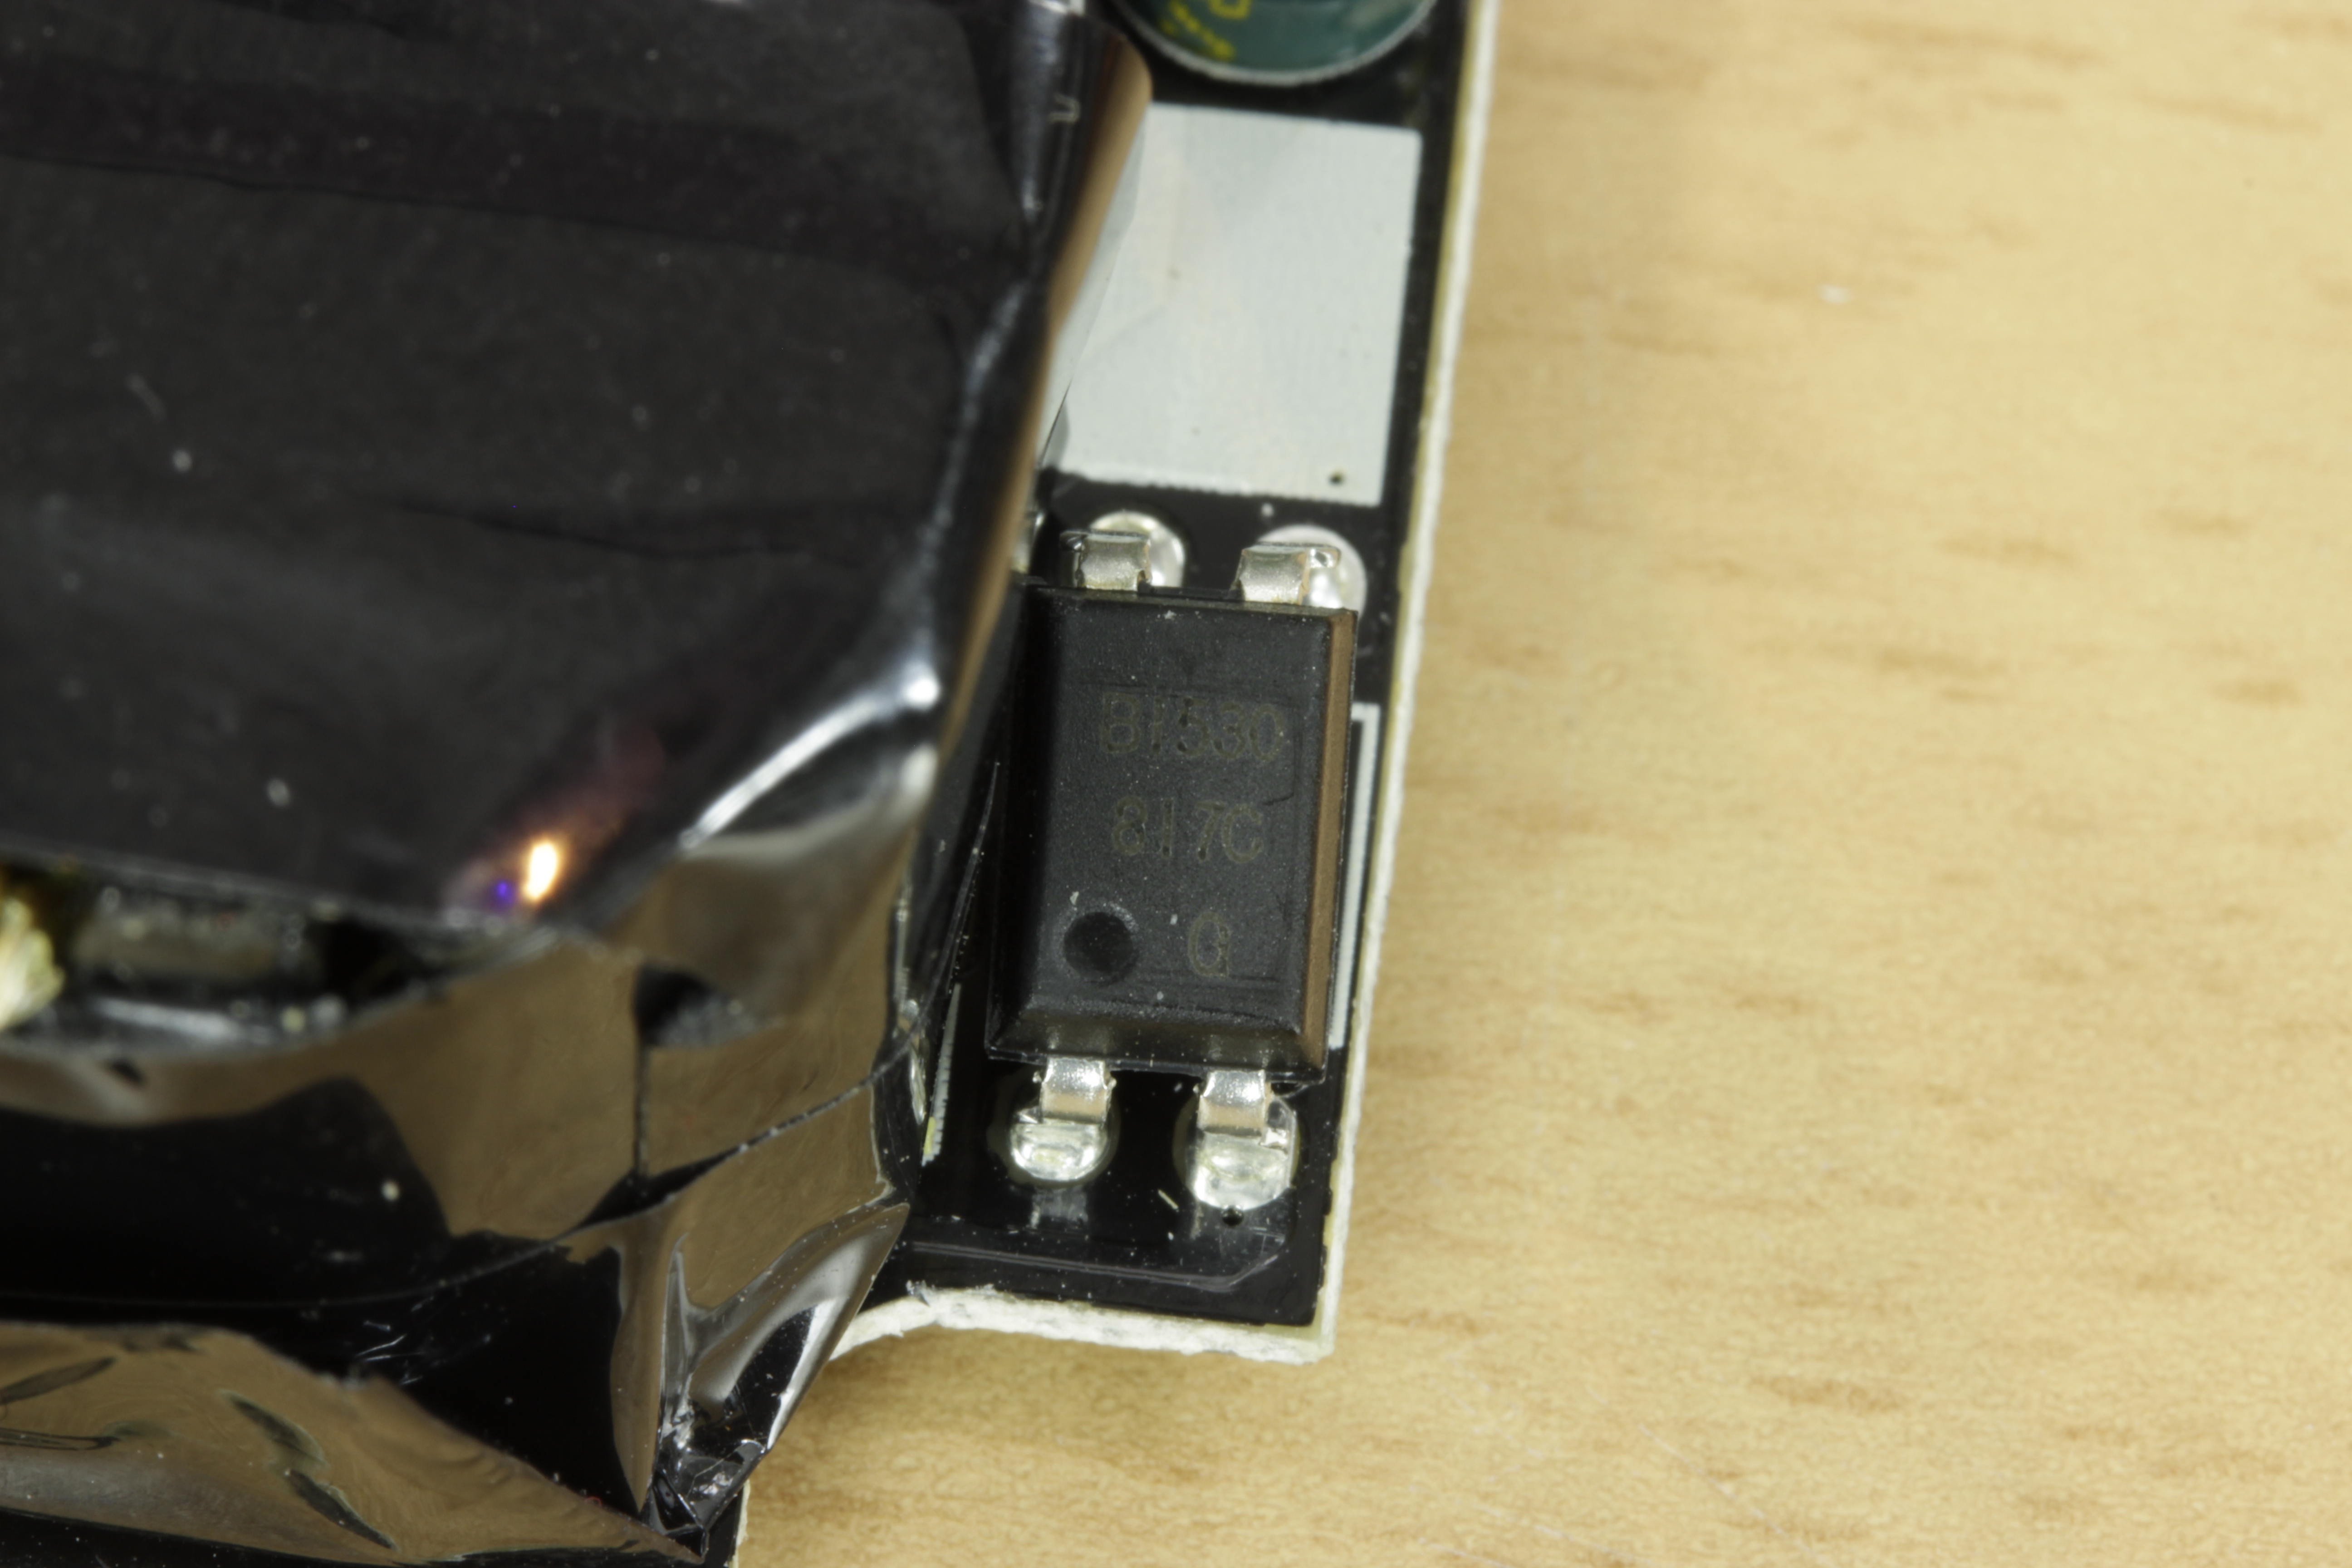
And finally, as promised in the video, here are some full-size macro shots of the PCB:
S.co.tt
I'm a computer guy with a new house and a love of DIY projects. I like ranting, and long drives on your lawn.
I don't post everything I do, but when I do, I post it here. Maybe.